

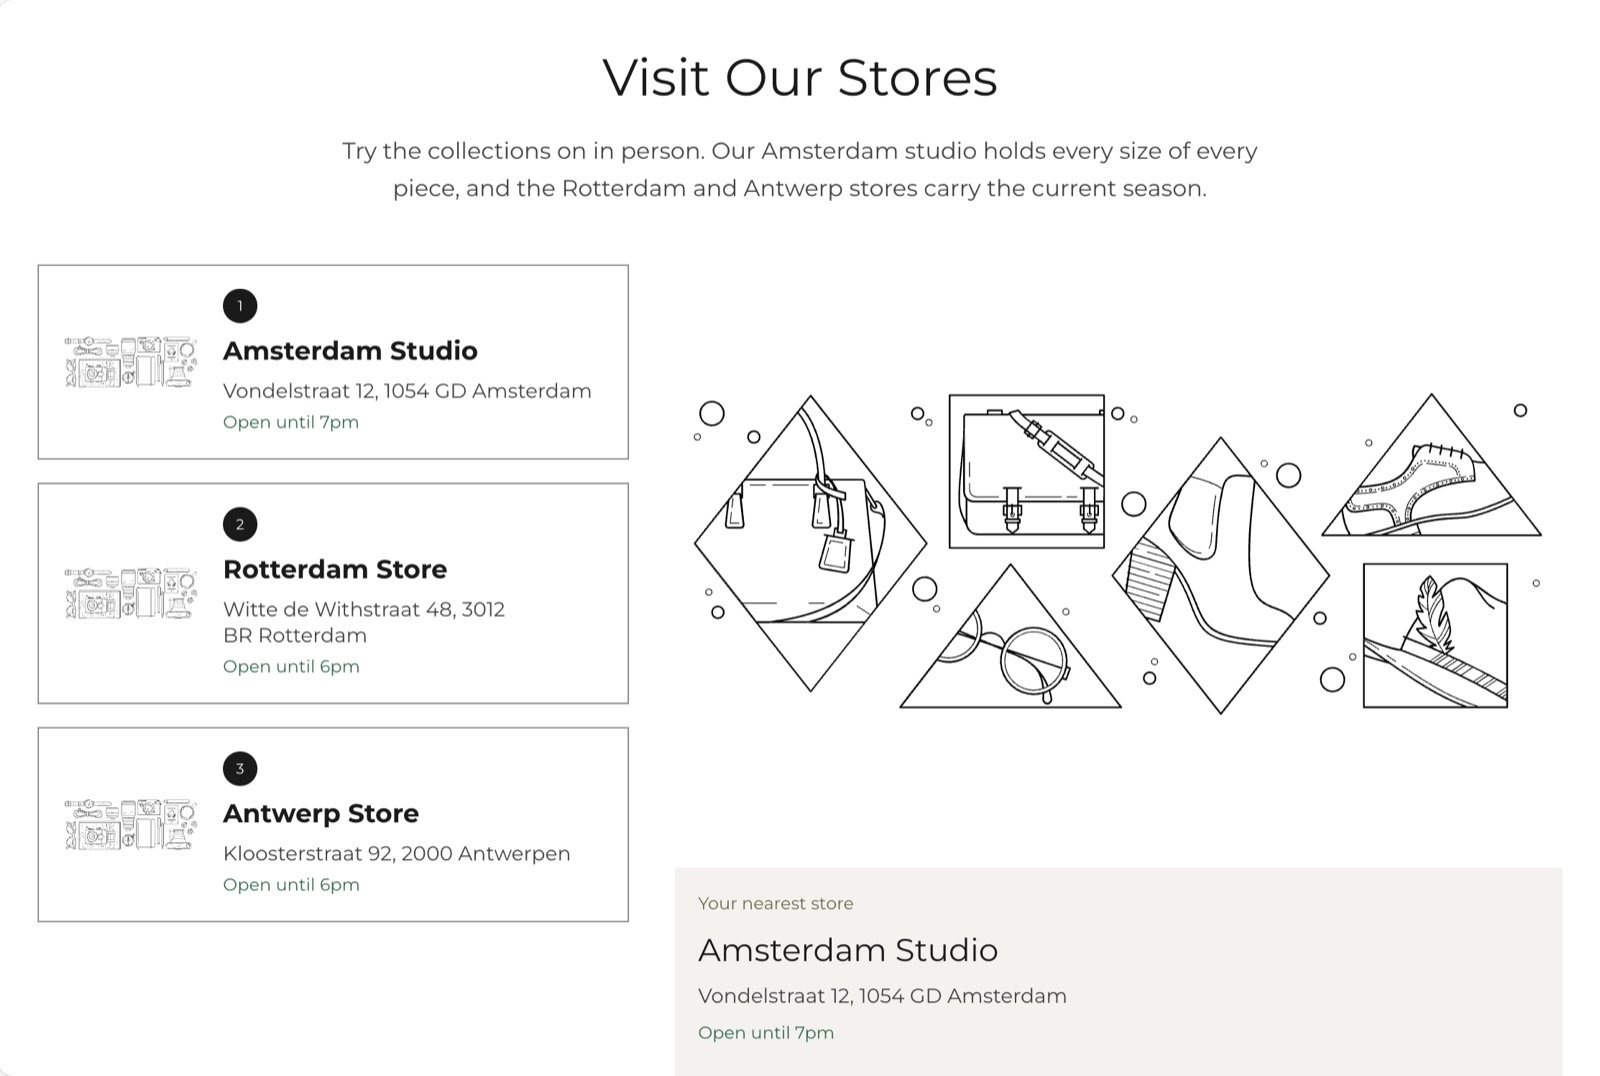
What this section controls
- The heading, text and an optional button under the list.
- The map picture.
- The list of stores, each with its name, address, opening hours, picture and links.
- The featured store card under the map.
How stores and maps work
You type every store into its own Store block. The theme doesn’t read your Shopify locations, and it doesn’t look up addresses. The map is a picture you upload, not a live map. Shoppers can’t zoom or move it. To help shoppers find a store, paste a link from your maps provider, such as Google Maps or Apple Maps, into each store’s Directions link. The store card and the featured store then link to it.Getting started
1
Open the Theme Customizer
In your Shopify admin, open Online Store, then Themes, and click Customize next to Facet.
2
Add the section
In the Sections panel, click Add section and choose Store locator. It starts with three Store blocks. It can’t be added to the header or footer.
3
Enter your stores
Click each Store block and fill in its name, address, opening hours and links. Drag your main store to the top: the first store is the featured one.
4
Upload the map
Click Store locator and pick your map picture under Map image.
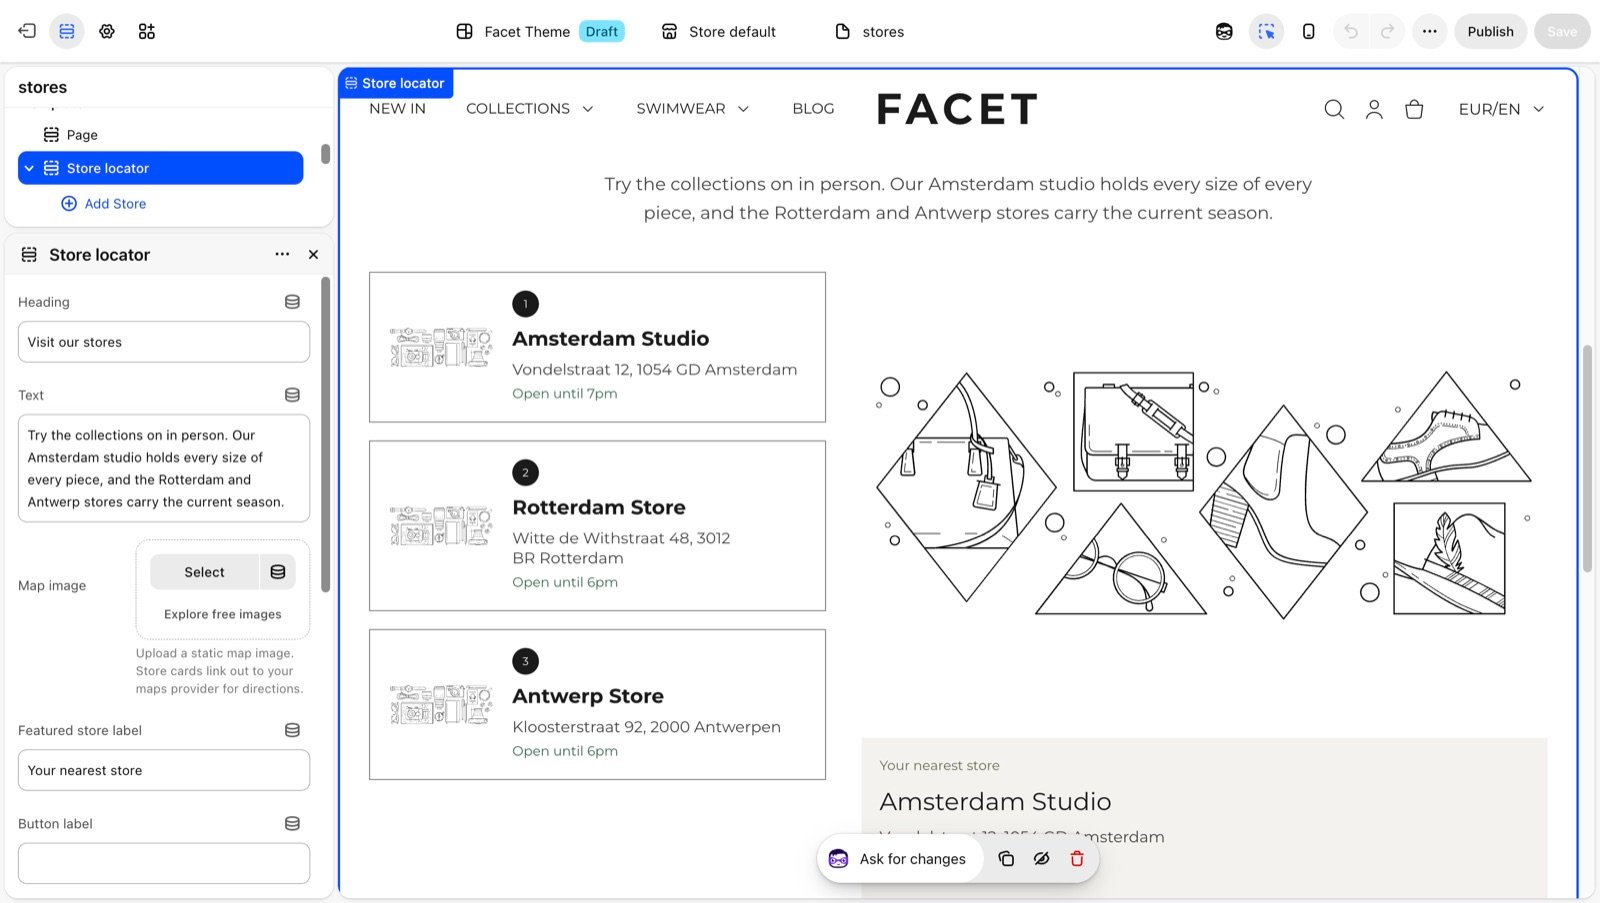
Section settings
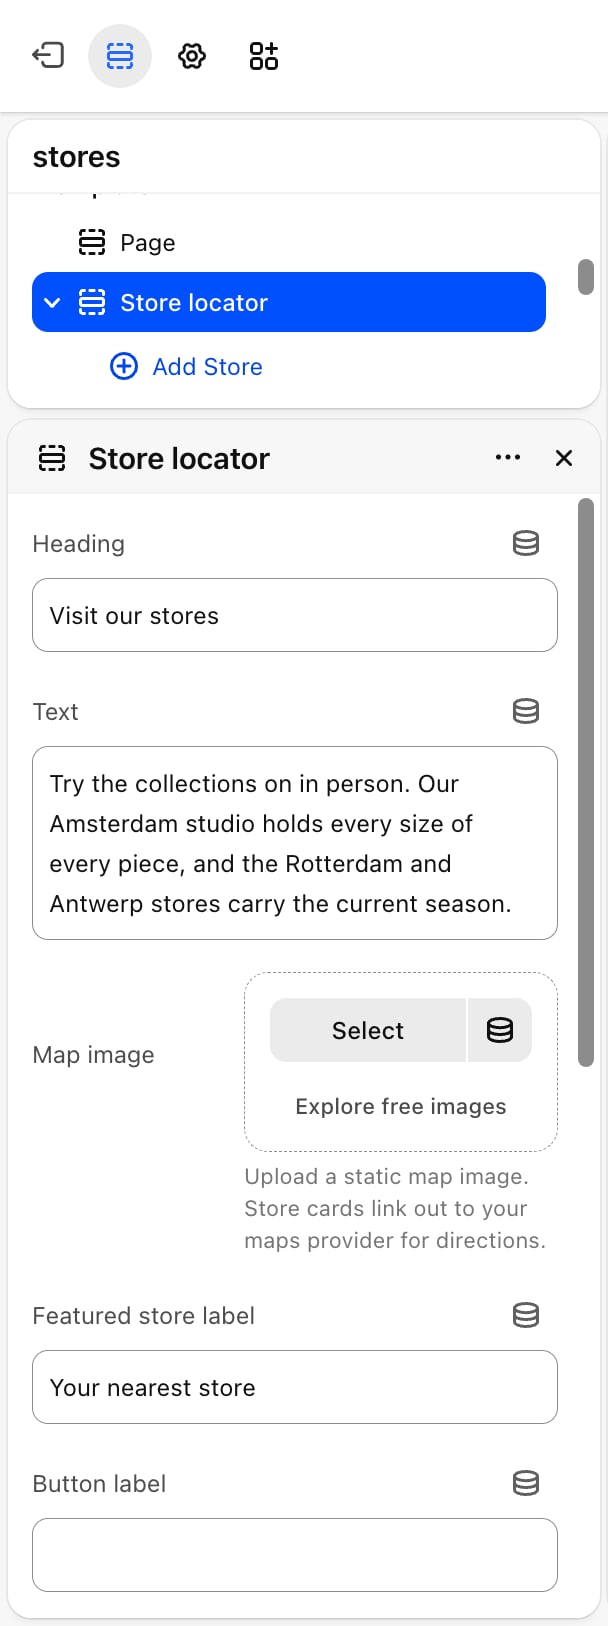
- Heading: the title above the stores. Default: “Visit our stores”. Leave it empty to hide it.
- Text: an optional line under the heading.
- Map image: a static map picture. It is cropped to a wide shape, about 3:2. A placeholder shows until you pick one.
- Featured store label: the small label on the featured store card. Default: “Your nearest store”. Leave it empty to hide it.
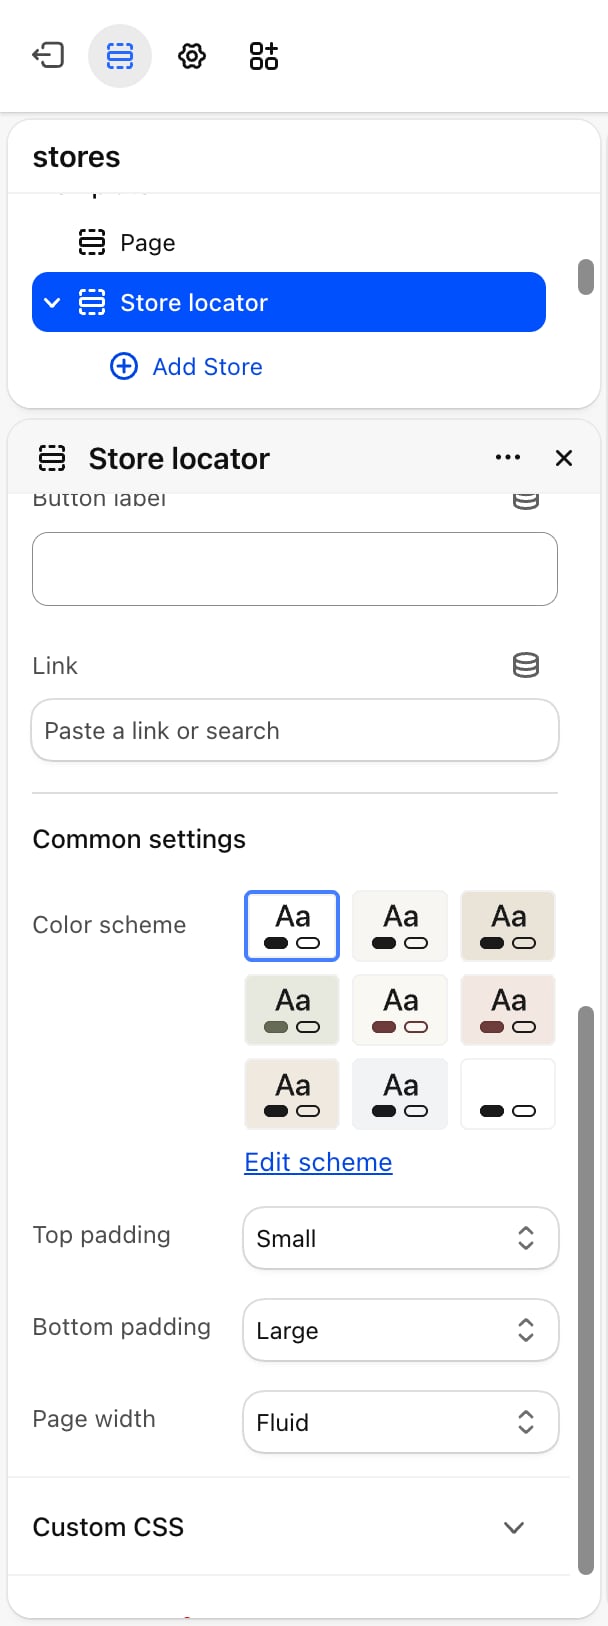
- Button label and Link: an optional button under the list of stores, for example to a page with all your stores. The button shows on your store only when it has both a label and a link. In the Theme Customizer a button without a link stays visible so you can still select it.
Common settings
- Color scheme: the colors of the section.
- Top padding and Bottom padding: None, Small, Medium, Large (default) or Extra large.
- Page width: Narrow, Narrower, Fluid (default) or Full.
Blocks
Store
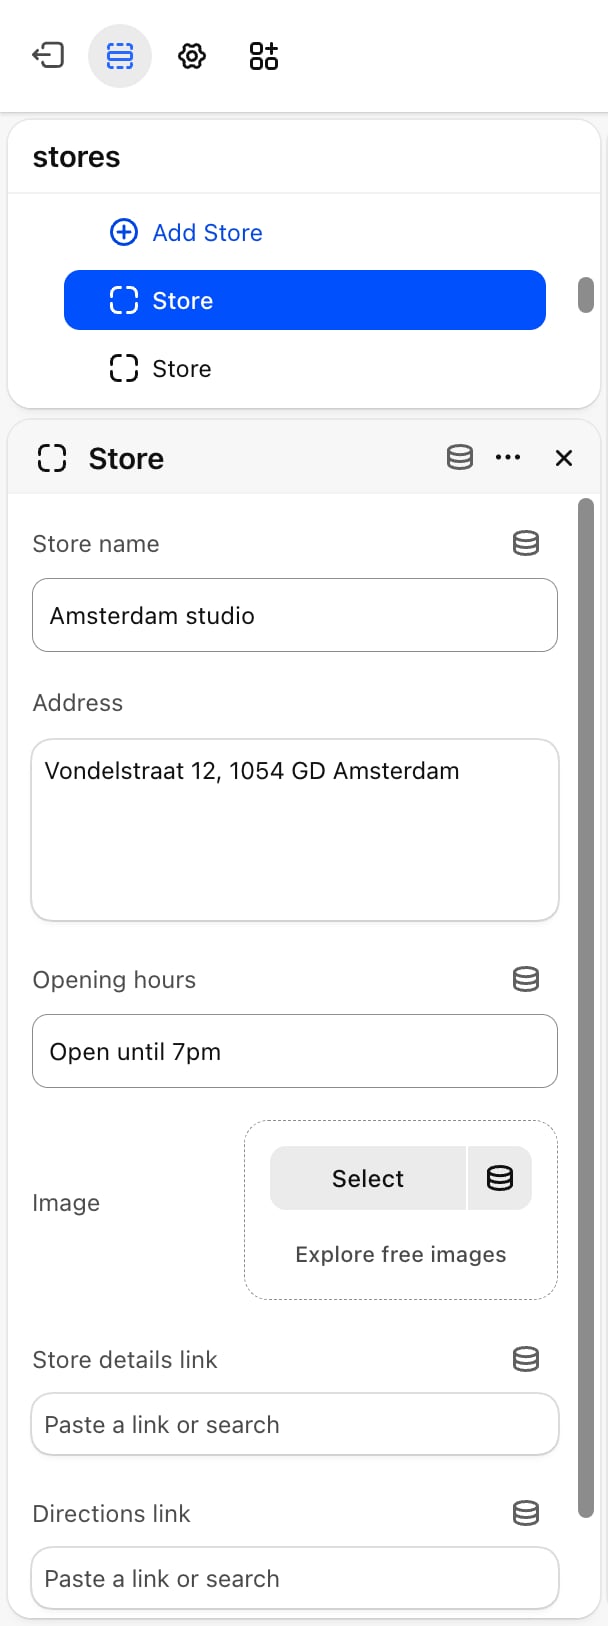
- Store name: default “New York boutique”.
- Address: the street address. Line breaks you type show as separate lines on the card.
- Opening hours: one line of text, for example “Mon to Sat, 10:00 to 18:00”.
- Image: a small picture of the shop on its card. A placeholder shows until you pick one.
- Store details link: a page about the store. Shows a Store details button on the featured store card only.
- Directions link: a maps link. Adds an arrow button to the store’s card, and a Get directions button on the featured store card. Both open in a new tab.
Best practices
- Put your busiest store first. The first store is the one featured under the map, and the label says “Your nearest store” by default. Change the label if that isn’t true for most shoppers.
- Put each part of the address on its own line. For example “Kalverstraat 1” on the first line and “1012 NX Amsterdam” on the second, the way it reads on an envelope.
- Add a directions link to every store. Without it, a store card has no link at all.
Related guides
Contact
Set up the contact page that often sits next to your store list.
Common settings
Padding, width and color settings shared by most sections.